10 Tips for Better Beach Photography

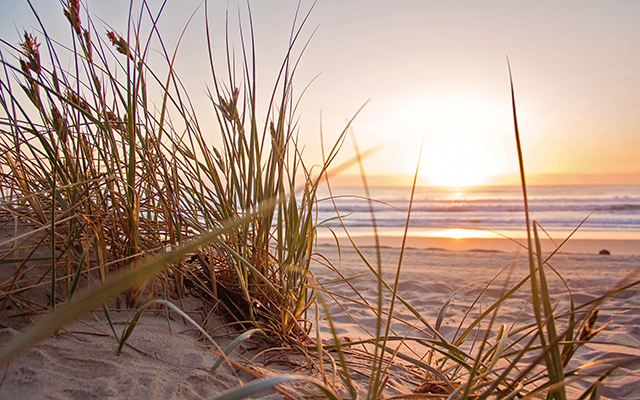
Timely tips for better beach photography. The beach offers a wonderful opportunity to learn photography and for getting great photos as well as honing your skills as a photographer. The soft colors, beautiful light, textures of the sand, sea grass and waves offer an ideal opportunity to experiment.
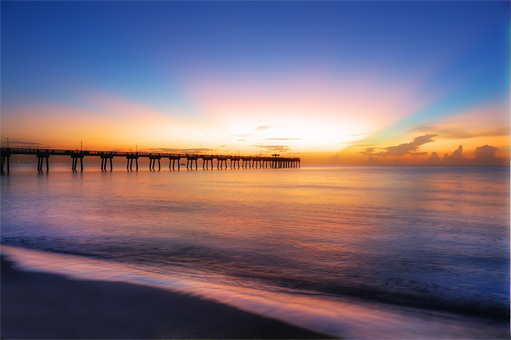
Depending on the time of day, you can get dramatically different looking photos. If shooting in the early morning or late evening, the light can change quickly. A few minutes difference will often yield a with an entirely different look and feel.

When the light is low, a tripod can be your best friend. Small travel tripods are both light and convenient to use. To get photos that capture the delicate morning and evening light, slow down your shutter speed so that the camera has time to capture the delicate colors. To get sharp photos, keep your camera as stable as possible. Also, slow shutter speeds will allow you to get a softer look to the water and waves for often times a more aesthetically pleasing image.
Here are ten quick tips to make your excursion to the beach a time to remember:
• From landscapes to seashells, think big and small. Change your perspective and try to notice the elements that make up the beach.
• Polarizer Filter – This can help improve the contrast and colors , just like polarized sunglasses. Back in the days of film, landscape photographers used polarizers often and it improved the skies, colors, contrast and overall look of the photo.
• Take Your Flash – A flash can supply much needed fill light when shooting a person or small objects on the beach. Remember that light from a flash falls off very quickly, so if it image is too bright, often times just moving further back will get you the perfect exposure without changing your camera settings.
• UV Filters – This is a clear filter that can help both protect the lens and helps to eliminate haze in your photos. When selecting filters, be sure to use a good quality one. Your lens is the most important part. Don’t put a low quality piece of glass (filter) in front of the lens as that will decrease the quality of your images.
• Watch the Waves, Watch the Horizon – Try to make your horizon off center as that will avoid your photo looking cut in half. Lines and angles can improve the composition of your photo dramatically.
• Pick the best time to go depending on the type of image that you would like to capture light during the morning and especially in the evening is warmer and often more colorful than during the day. Also the beach tends to be less busy at these hours so if you’re looking for landscape photos or a more peaceful scene to shoot, this is usually the best time.
• Watch Your Exposure – The bright sand and reflective waves can cause your camera to incorrectly expose your photo. Use your histogram to make sure your camera meter is reading the scene correctly and and exposure bias to fine tune any adjustments if you are shooting in any mode other than Manual.
• Metering – Your camera has typically three meter settings (Matrix, Partial and Spot). To get the most accurate exposure, use the spot meter. Be careful though as it only measures the light at the exact point that you select.
• Composition – Watch your lines, angles and symmetry of your images. Shoot wider than you normally would and that will allow you to crop the image with less chance of cutting off something important as well as allowing you to fit the image perfectly to different devices (desktop, iPad, phone, etc.) as they have different sized screens.
• ND Filter – Neutral Density Filters can be a big help when shooting outdoors on a bright sunny day. Sometimes there is too much light to get the image that you desire and the addition of a ND filter can cut down the light coming in to the lens. It doesn’t alter the look of the image, only reduces the light. It’s like sunglasses for your camera. If for example you want to take a photo with a shallow depth of field, that requires a more open aperture which also lets in more light. Using a ND filter will allow you to easily get the photo that you otherwise could not get. When you shoot at the sun during a solar eclipse, the sun filter as it’s termed is actually just a really dense neutral density filter. The higher the number on the filter, the darker it is. Typically they come in ND 1 thru 9, but for the sun during an eclipse, that is an ND 100,000.
We can help you to get the best results with your photography. Contact Us Today.
