
Night photography looks intimidating, but it’s mostly about a stable camera and a few deliberate settings. These beginner-friendly tips work whether you shoot a DSLR, a mirrorless camera, or even your phone in night mode.
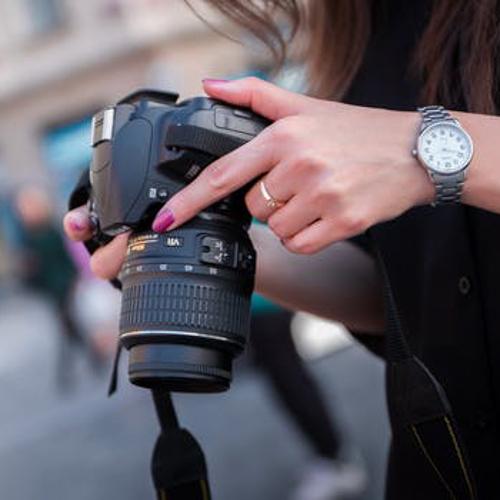
Steady the camera first
Most disappointing night photos are simply blurry. Use a tripod or brace against a solid surface, and trigger the shutter with a timer or remote so you don’t shake the camera. Sharpness is the foundation everything else builds on.
Start with these manual settings
- Aperture: f/2.8–f/5.6 for general scenes; f/8–f/11 for city skylines on a tripod.
- ISO: start at 800–1600 handheld; drop to 100–400 on a tripod for clean files.
- Shutter: 1/60s+ handheld; several seconds on a tripod for light trails and glow.
Find and use the light
Cities, signs, storefronts, and the blue hour just after sunset give you color and direction. Shoot during that 20–30 minute window when the sky still holds deep blue — it separates buildings from the background and keeps photos from going pure black.
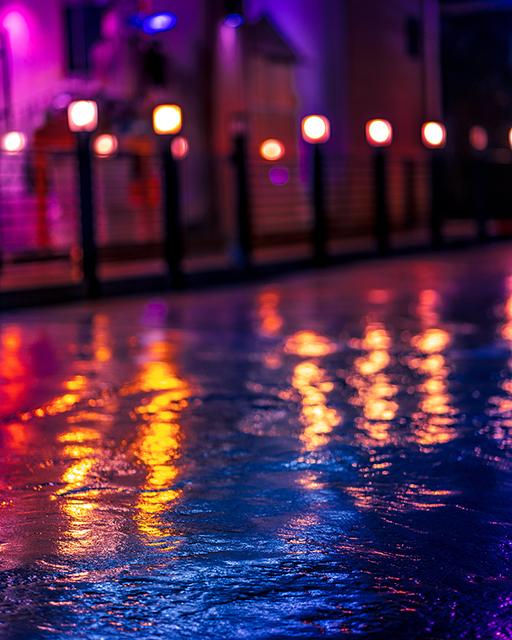
Create bokeh and light trails on purpose
- Bokeh: a wide aperture plus distant points of light turns background lights into soft circles.
- Light trails: a multi-second exposure on a tripod turns moving cars into ribbons of light.
- Focus carefully — autofocus struggles in the dark, so switch to manual focus on a bright point.
Practice it live
Night settings click fastest with someone beside you. We cover low-light shooting, long exposures, and focus in private lessons — outdoors in Pompano Beach or live online, built around your camera and goals.
Want personal help with this? Book a private lesson — online or outdoors in South Florida.
Schedule